iPhones are luxury items with extensive features allowing them to boast a seamless user experience and function. However, like any other product, it is common to experience bizarre things when using them. A typical example of bizarre things experienced by users is the iPhone being stuck in headphone mode without a headphone being connected to it.
The problem is characterized by the inability to play audio files and make a phone call as the device constantly sends the audio to headphones that don’t exist. Many users experience their iPhones stuck in Headphone mode and this guide aims to instruct you on how to fix the problem.
Why Do iPhones Get Stuck in Headphone Mode?
There are several reasons why your iPhone can get stuck in headphone mode. Common reasons include
- Presence of moisture or dust in the jack port
- Software error
- Disconnecting the headphone while the phone was busy
- Use of bad headphones which damages the jack port.

Ways to Fix the
The problem exists in all types of problems and you can only fix the problem by understanding the cause. Below are a few ways how to get iPhone out of headphones mode:
-
Plug and unplug your headphones
The most common fix for iPhone stuck in headphone mode is to plug and unplug the headphones. It works for all kinds of iPhones (3.5mm jack and lightning port). Plug in the headphone for a few seconds and then remove it. Possibly, the phone will go back to its default algorithms, i.e., to relay audio to the headphones.
-
Enable and disable Airplane mode
Enabling and disabling the Airplane Mode is another fix for the problem suitable more for headphones connected via Bluetooth. Enabling the mode turns off the cellular, voice, Wi-Fi, and Bluetooth connections. It is similar to turning your device off to a certain degree.
Although it works best for Bluetooth headphones, you can also try it on wired headphones. You can enable and disable the airplane mode by following the steps below:
iPhone X upward
- Swipe down on the control panel
- Click on the airplane icon to make it blue
- After a few seconds, click on the icon again
For an iPhone SE and 8 downward
- Swipe up on the control panel
- Click on the airplane icon to make it blue
- After a few seconds, click on the icon again
-
Restart your iPhone
Restarting your iPhone will reboot the OS and apps to a fresh slate. There is a high tendency that the glitch would be gone after restarting. Follow the steps below on restarting your device:
For an iPhone SE and 8 downward
- Press and hold down the power button until the Power Off slider option shows
- Drag the slider towards the Turn Off option.
- Press and hold down the power button until the Apple logo show.
For an iPhone SE (2nd Generation), 6 or later:
- Press and hold down the power and volume buttons until the Power Off slider option shows
- Drag the slider towards the Turn Off option.
- Press and hold down the power button until the Apple logo show
-
Remove any lint, debris, or dirt from the lightning port
Dirt build-up in the jack port can lead to your iPhone thinking there is a plugged-in headphone. Therefore, you need to clean the port to resolve the problem. For this, you will need a flashlight, a toothpick, and a can of compressed air. Below is a stepwise procedure to take:
- Switch off your device
- Use the toothpick to gently scrape at the wall of the port
- Release a burst of air into the port to remove residual dirt.
- Switch on the iPhone
-
Use TunesKit iOS System Recovery
For software issues, the above methods would likely not work. As a result, the best method to try is to do an iOS system recovery. TunesKit iOS system recovery is a valuable iOS repair tool available on Windows and Mac and boasts the following features:
- Recover your iOS device to normal at home with no data loss
- Fix common iOS system issues like white apple logo, boot loop, and black screen
- Fix serious problems such as iPhone won’t restore in recovery mode
- Downgrade the iOS version without jailbreak
- Enter and exit recovery mode on iPhone/iPad/iPod touch
- Be compatible with the latest iOS version devices
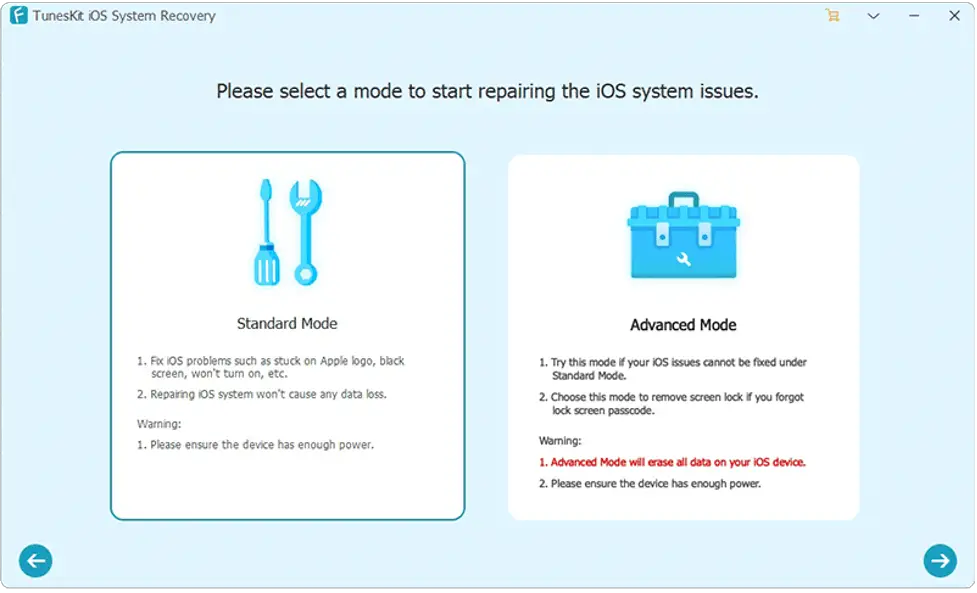
The tool Standard Repair Mode is suitable for fixing common iOS issues such as the iPhone being stuck in headphone mode. Additionally, it does not lead to any data loss and it will fix iOS to normal. Follow the steps below on how to use the iPhone system recovery software to fix the problem:
Step 1: Download and Launch TunesKit iOS System Recovery
Download and launch TunesKit iOS System Recovery on your computer. Afterward, connect the iPhone to the PC using a USB cable.
After detecting the iPhone, click on Repair iOS System. In the next window, choose Standard Repair and click Next. Select the iPhone you connected and follow the instructions to put it into DFU mode. After that, click the “Next” button.

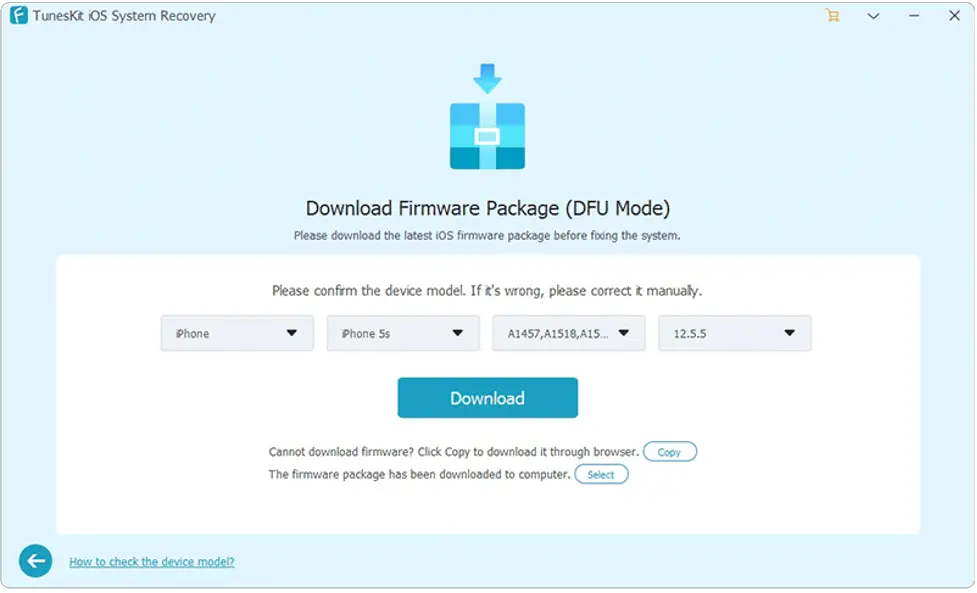
Step 2: Download Firmware Package

The tool will give a prompt to download the latest firmware package for your device. Confirm the correctness of the device info such as the model version and iOS version. If there is an error correct it. Otherwise, click the Download button to start downloading and verifying the firmware.
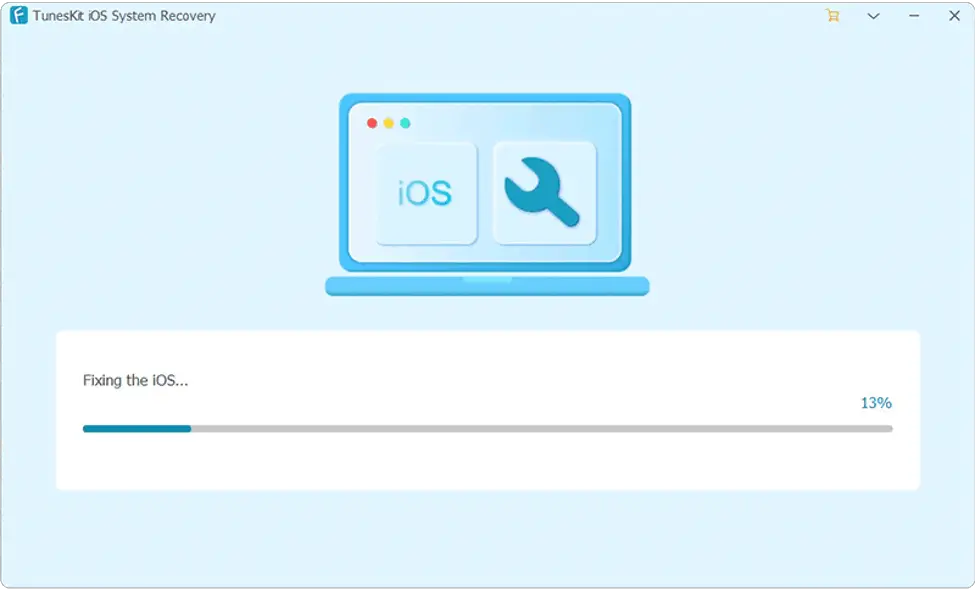
Step 3: Recover the iOS System

After downloading, click the Repair button for the tool to fix. Ensure the device is connected throughout the fixing process or it might brick.
Watch a Descriptive Video on How to Fix Your iPhone
Conclusion
Your iPhone getting stocked in headphone mode is a normal yet undesirable event. Therefore, the next time you experience this, do not panic. The issue can be hardware or software-related and there are several methods to fix it. Using any of the methods above, we hope we helped you solve the problems, meaning your headphone issues are a thing of the past.
