How To Take Apart Speakers with no Screws
By Robert Jones · 2021-08-10
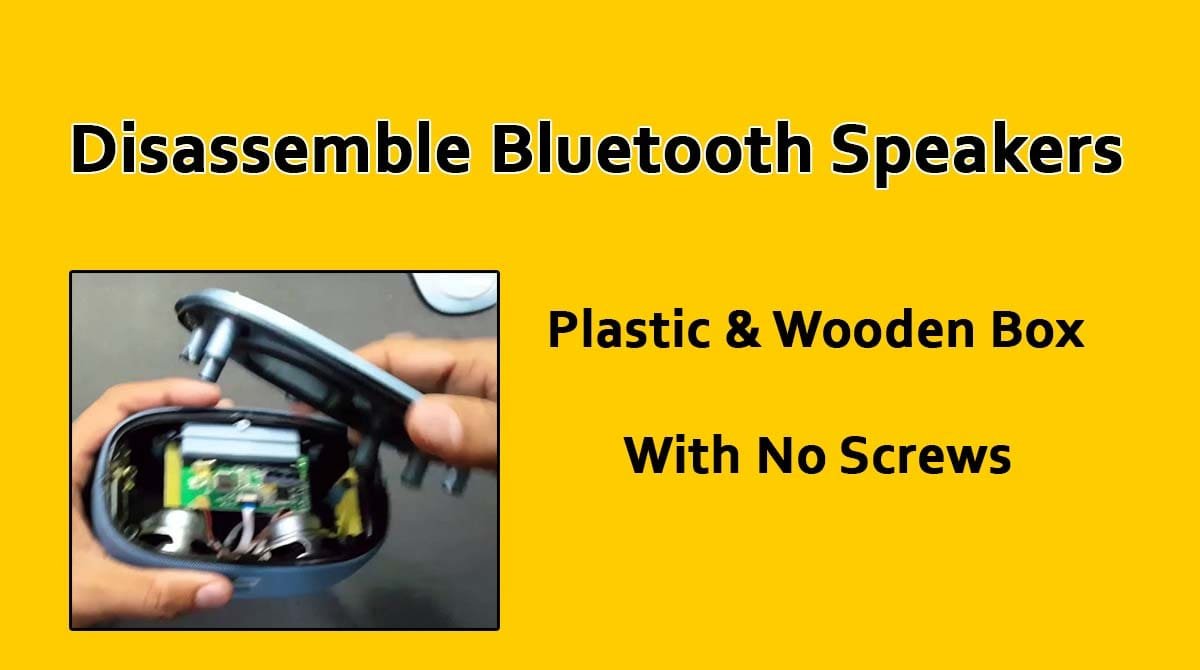
The speakers with screws are easy to take apart. You just open
## Disassembling Speakers Without Screws: My Two Cents Right, so you've got a speaker, and you want to get inside. Easy enough if it's got screws, isn't it? Just undo them, and you're in. But what if there aren't any? What if it's all neat, smooth, and you can't see a single fastener? That's where things get a bit trickier, and where you need to apply a bit of finesse – or a lot of brute force, depending on your patience. I've been in this situation more times than I can count. Testing kit for SpeakersMag, or sometimes just tinkering in my workshop, you come across all sorts. Some manufacturers, bless their cotton socks, make it an absolute nightmare to get a peek at the internals. They want you out, see. They don't want you messing with their precious design, or finding out how cheaply they've made something. ### Why No Screws, You Ask? It’s usually one of two things, in my experience. Either they’re going for a really clean aesthetic – a smooth, uninterrupted finish. Or, more commonly, they’re aiming for a cost-effective manufacturing process. Glue and clips are often quicker and cheaper to assemble on a production line than screwing everything together. Plus, if it’s an active speaker or something that gets a fair bit of vibration, glue can sometimes offer a better seal against air leaks, which, as we all know, is key for good sound. ### The Tools of the Trade (and a bit of common sense) Before you go attacking anything with a hammer, grab a few bits and bobs. You'll want some plastic pry tools – the kind you get for taking apart dashboards in cars, or opening up mobile phones. They're softer than metal, so less likely to scratch or dent. A heat gun is an absolute lifesaver for anything glued. A hairdryer can work in a pinch for lighter jobs, but a proper heat gun gives you much more control and oomph. And finally, some patience. Seriously, you'll need it. ### The Gentle Approach: Prying and Persuading So, you've got your speaker in front of you. First thing, look for any seams. Run your finger along where the front baffle meets the cabinet, or where the back panel joins the sides. Often, you'll find a very thin gap. That's your entry point. Stick a plastic pry tool in there. Don't force it. Just a little wiggle, a gentle twist. You're trying to get a sliver of leverage. If it feels like it's glued solid, that's where the heat gun comes in. Apply heat evenly along the seam. Don't concentrate it in one spot, or you'll melt the plastic or damage the finish. Keep the gun moving. You're trying to soften the adhesive, not scorch the speaker. Once it's warm, try the pry tool again. You might hear little