Mount Speakers on The Wall Without Drilling Holes
By Robert Jones · 2021-04-04
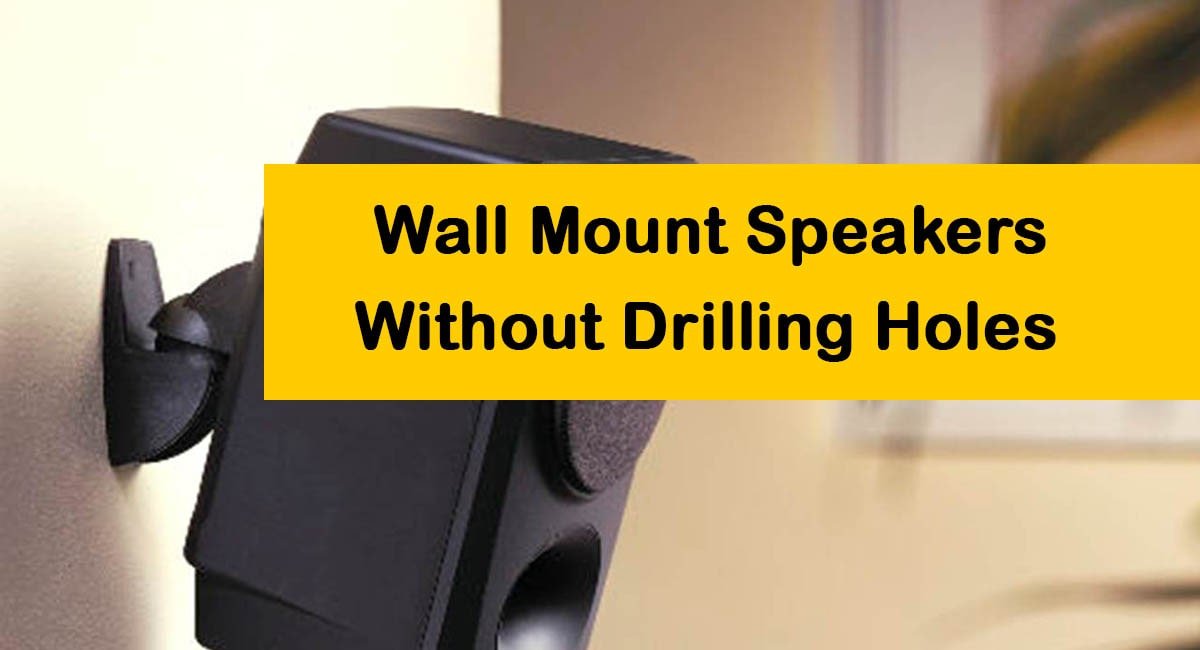
Mounting speakers on the wall improves your listening experience but mounting the
Good lord, I've lost count of the times I've been asked about sticking speakers to walls without drilling. It’s a common one, especially for folks in rented places or just those who don't fancy putting holes everywhere. Now, let's be clear from the off: if you want the absolute best, most secure, and frankly, safest way to mount a speaker, you drill. End of. But, I get it. Sometimes that’s just not an option. So, we find workarounds, don't we? I've seen some truly dodgy setups over the years, things hanging by a thread, just waiting to crash down and smash into a thousand bits. And that's not just your speaker, that's potentially a kid, a pet, or your prized antique lamp. So, whatever you do, safety first. Please. Now, for those smaller, lighter speakers – think satellite speakers for a surround sound setup, or perhaps some dinky bookshelf speakers – there are a few options that actually work. Big, heavy floorstanders? Forget about it. You're asking for trouble, and a very expensive repair bill. ### Adhesive Mounts and Strips Right, let's start with the sticky stuff. Command strips, as they're often called, or similar brands. These are brilliant for light duty. I've used them in my own workshop for a pair of miniature monitors I use just for checking vocal clarity. They haven't budged in months. But, and it’s a big "but", you've got to be sensible about weight. Each strip or hook will have a weight limit. Read it. Understand it. Don't push it. If the speaker is heavier than recommended, use more strips. Common sense, really. Preparation is key here. Clean the wall surface, clean the speaker surface. Really clean it. Any dust, grease, or grime and that adhesive isn't going to bond properly. Then, when you apply them, press firmly. Give it a good 30 seconds or so. And, if you’re using the hook varieties, let them "cure" for an hour before hanging anything. It makes a difference. **Pros:** * No drilling, obviously. * Removable without damage (usually). * Great for very light speakers. **Cons:** * Strict weight limits. * Not suitable for textured walls. * Adhesive can fail if not applied correctly or if the environment changes (e.g., humidity). ### Speaker Stands (Floor or Desk) Alright, this isn't "wall mounting" in the strictest sense, but it's a fantastic alternative that avoids drilling. Why put speakers on the wall if you can put them on stands? You get much better positioning flexibility too. For surround sound, a good quality set of rear speaker stands can make all the difference. You can angle them just right, get the height perfect. I've got a set of pretty basic, spiked stands for my rear surrounds in the home cinema. Not expensive, but they do the job beautifully. The spikes decouple the speaker from the floor, which can tighten up the bass response a bit. For desk speakers, small isolation pads or stands are a must. It gets them off the desk surface, reducing vibrations and improving clarity. It’s not quite as pretty as a flush wall mount, but sonically, it’s often superior. **Pros:** * No wall damage at all. * Excellent for speaker positioning and sound optimisation. * Relatively easy to set up. **Cons:** * Takes up floor or desk space. * Cables can be more visible. * Can be knocked over if not sturdy. ### Picture Hanging Wire or Cord (with extreme caution) Right, now we're getting into territory where I really need to add a disclaimer. This is for *tiny, tiny* speakers only. And I mean tiny. Think of those little cube speakers from a budget home cinema in a box – the ones weighing less than a can of beans. You *might* be able to use a strong picture hanging hook, screwed into a stud, and then hang the speaker from that using picture wire or cord. But honestly, I'm hesitant even to suggest it. The speaker needs a proper hanging point, usually a keyhole slot or a threaded insert. And you're relying on that single point. If it wears, if the wire snaps, down it comes. I've seen a few setups like this in student digs back in the day. Rarely ended well, mind. Usually involved a lot of Blu-Tack and hope. **Pros:** * Potentially invisible if done very carefully. * No speaker modification required. **Cons:** * Extremely limited to very light speakers. * High risk of failure. * Requires a strong anchor point in the wall (e.g., a stud). * Speaker can swing or rotate. ### Using Existing Shelves or Furniture This is often the simplest and safest "no-drill" option. If you've got a sturdy bookshelf, a wall unit, or even a solid mantelpiece, use it! It seems obvious, but people often overlook it. Your speakers aren't going anywhere if they're sitting securely on a flat, stable surface. For smaller speakers, you can use Blu-Tack or similar sticky putty to